|
|
 |
|
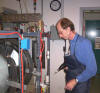
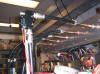
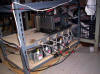
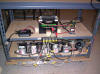
December South Half
Using transformers, old-style
|
|
 |
|
Himself
You know the drill
|
|
 |
|
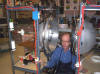
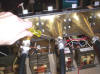
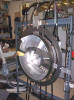
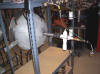
Feel the Power
Microwaves to the left of me
Microwaves to the right of me
|
|
 |
|
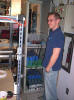
Elijah Martin
Senior Physics/Nuclear Engineering major, helping me with circuits, smart feller
|
|
 |
|
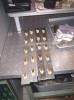
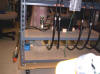
500 Ohm Resistors
Putting resistors on aluminum bar for heat sink; divides current between the 20 magnetrons
|
|
|
|
 |
|
Coax Relay
Ukranian ex-Soviet coax relay to switch after microwave input burst to outgoing coax for measurements; ball lightning?
|
|
 |
|
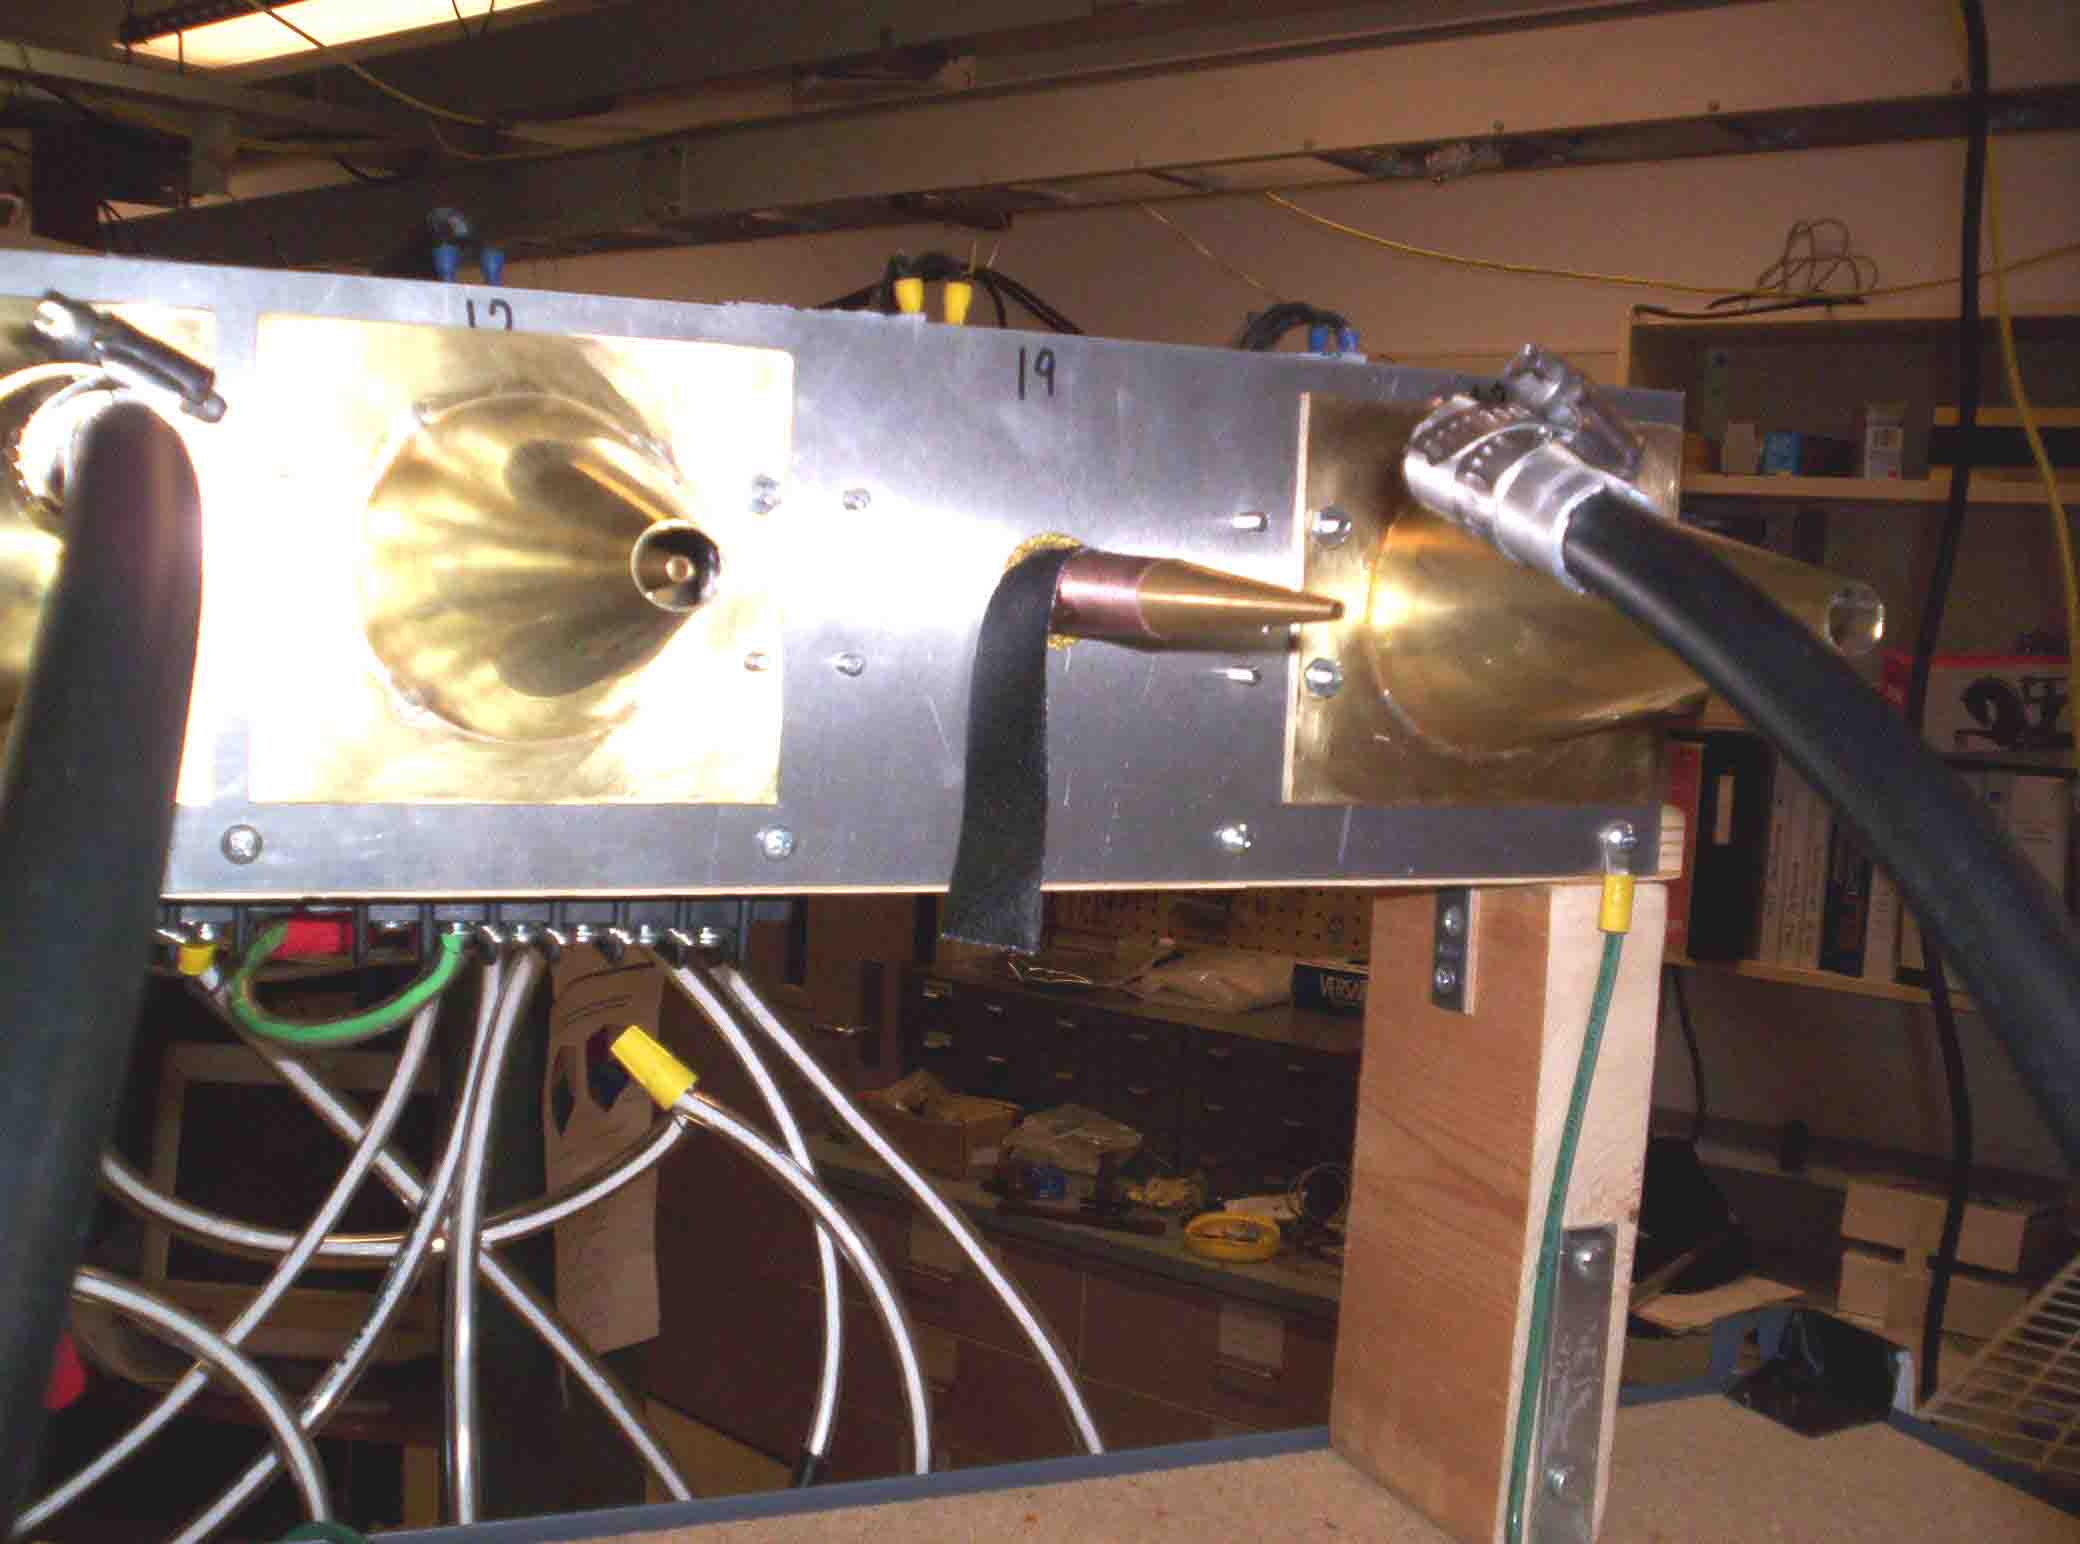
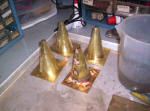
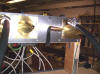
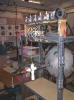
Brass Cones
Outside guide transitioning from magnetron stub to coax; matches impedance with inner cone. Needed serious cleaning from soldering!
|
|
 |
|
Attaching Cones 1
Fitting the cones and cores to coax; note transformers, now not used
|
|
 |
|
Connecting cones 2
details of connection; all hand-made, nothing store-bought
|
|
 |
|
Connecting cones 3
Tightening the hose clamps
|
|
|
|
 |
|
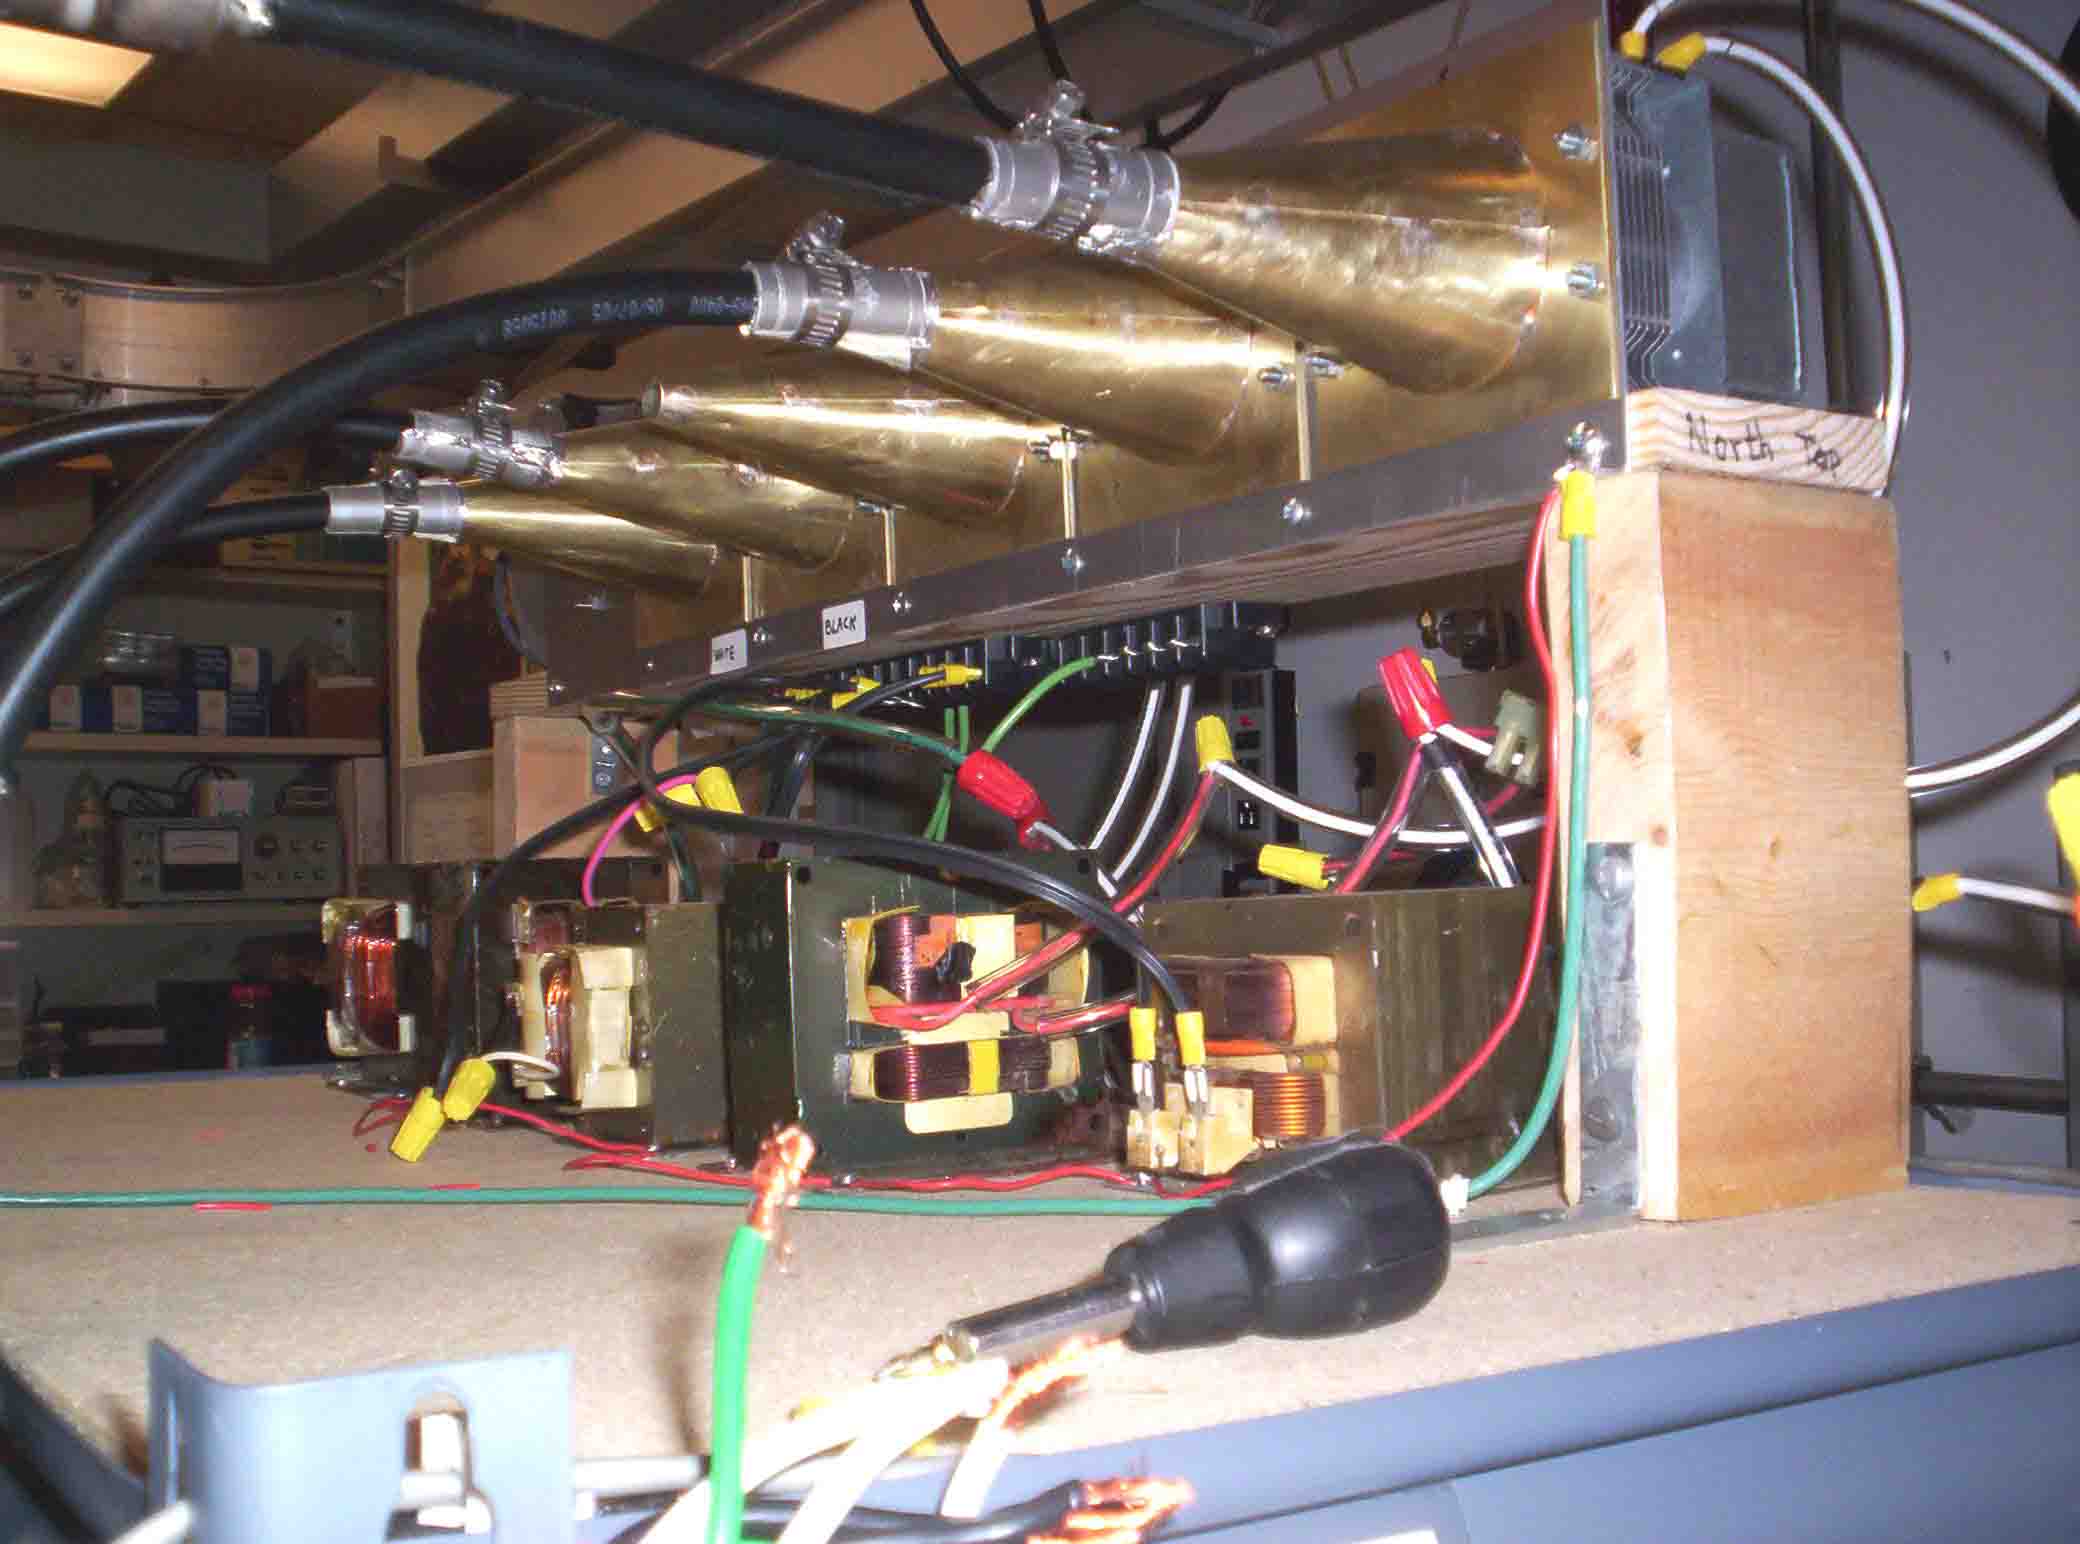
Transformers
First try to power the 3 VAC filament for thermionic emission in the magnetrons; didn't work....
|
|
 |
|
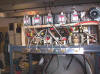
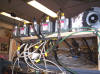
North Half, old style
with transformers, what a tangle
|
|
 |
|
Cones, N half
First assemblage of connected system with transformers
|
|
 |
|
Core tape 1
Had to secure the cores to the magetron stubs with gaffer tape
|
|
 |
|
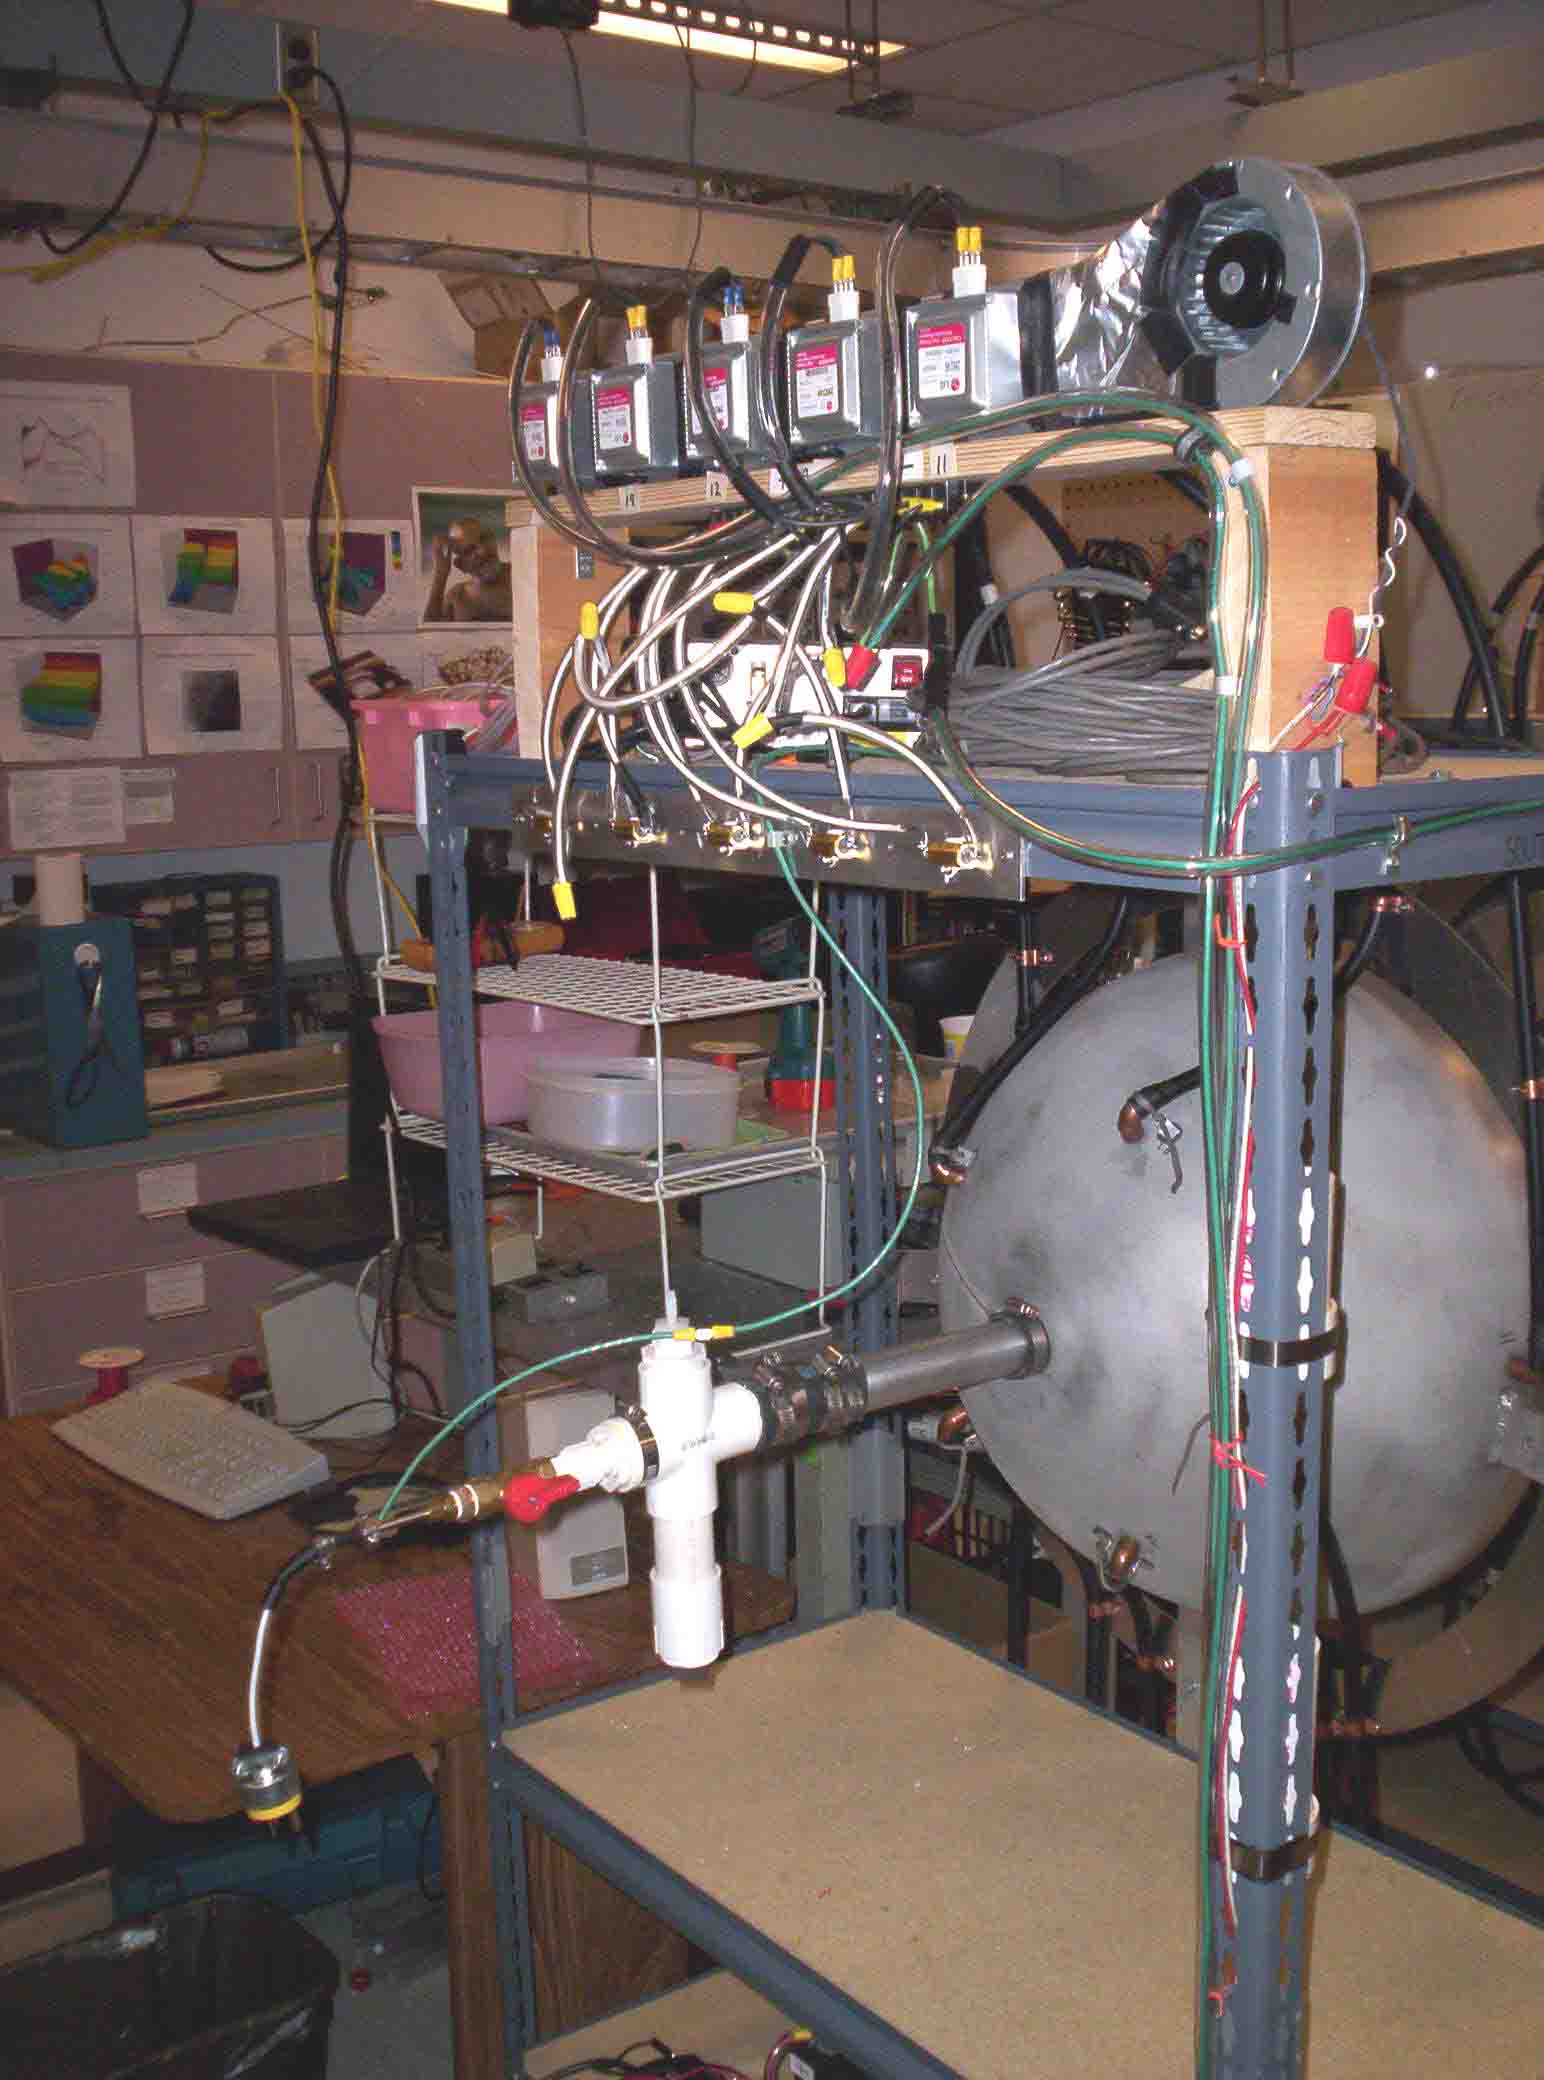
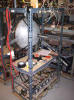
Rack in late March
Getting close to operation; top is 5000 VDC supply, next control panel from back, then capacitors
|
|
|
|
 |
|
Control panel gizzards
The control panel works minus the integrated circuits etc
|
|
 |
|
N Half low
Pump and magnetrons
|
|
 |
|
N half high
Shows current-dividing resistors, magnetron power supply
|
|
 |
|
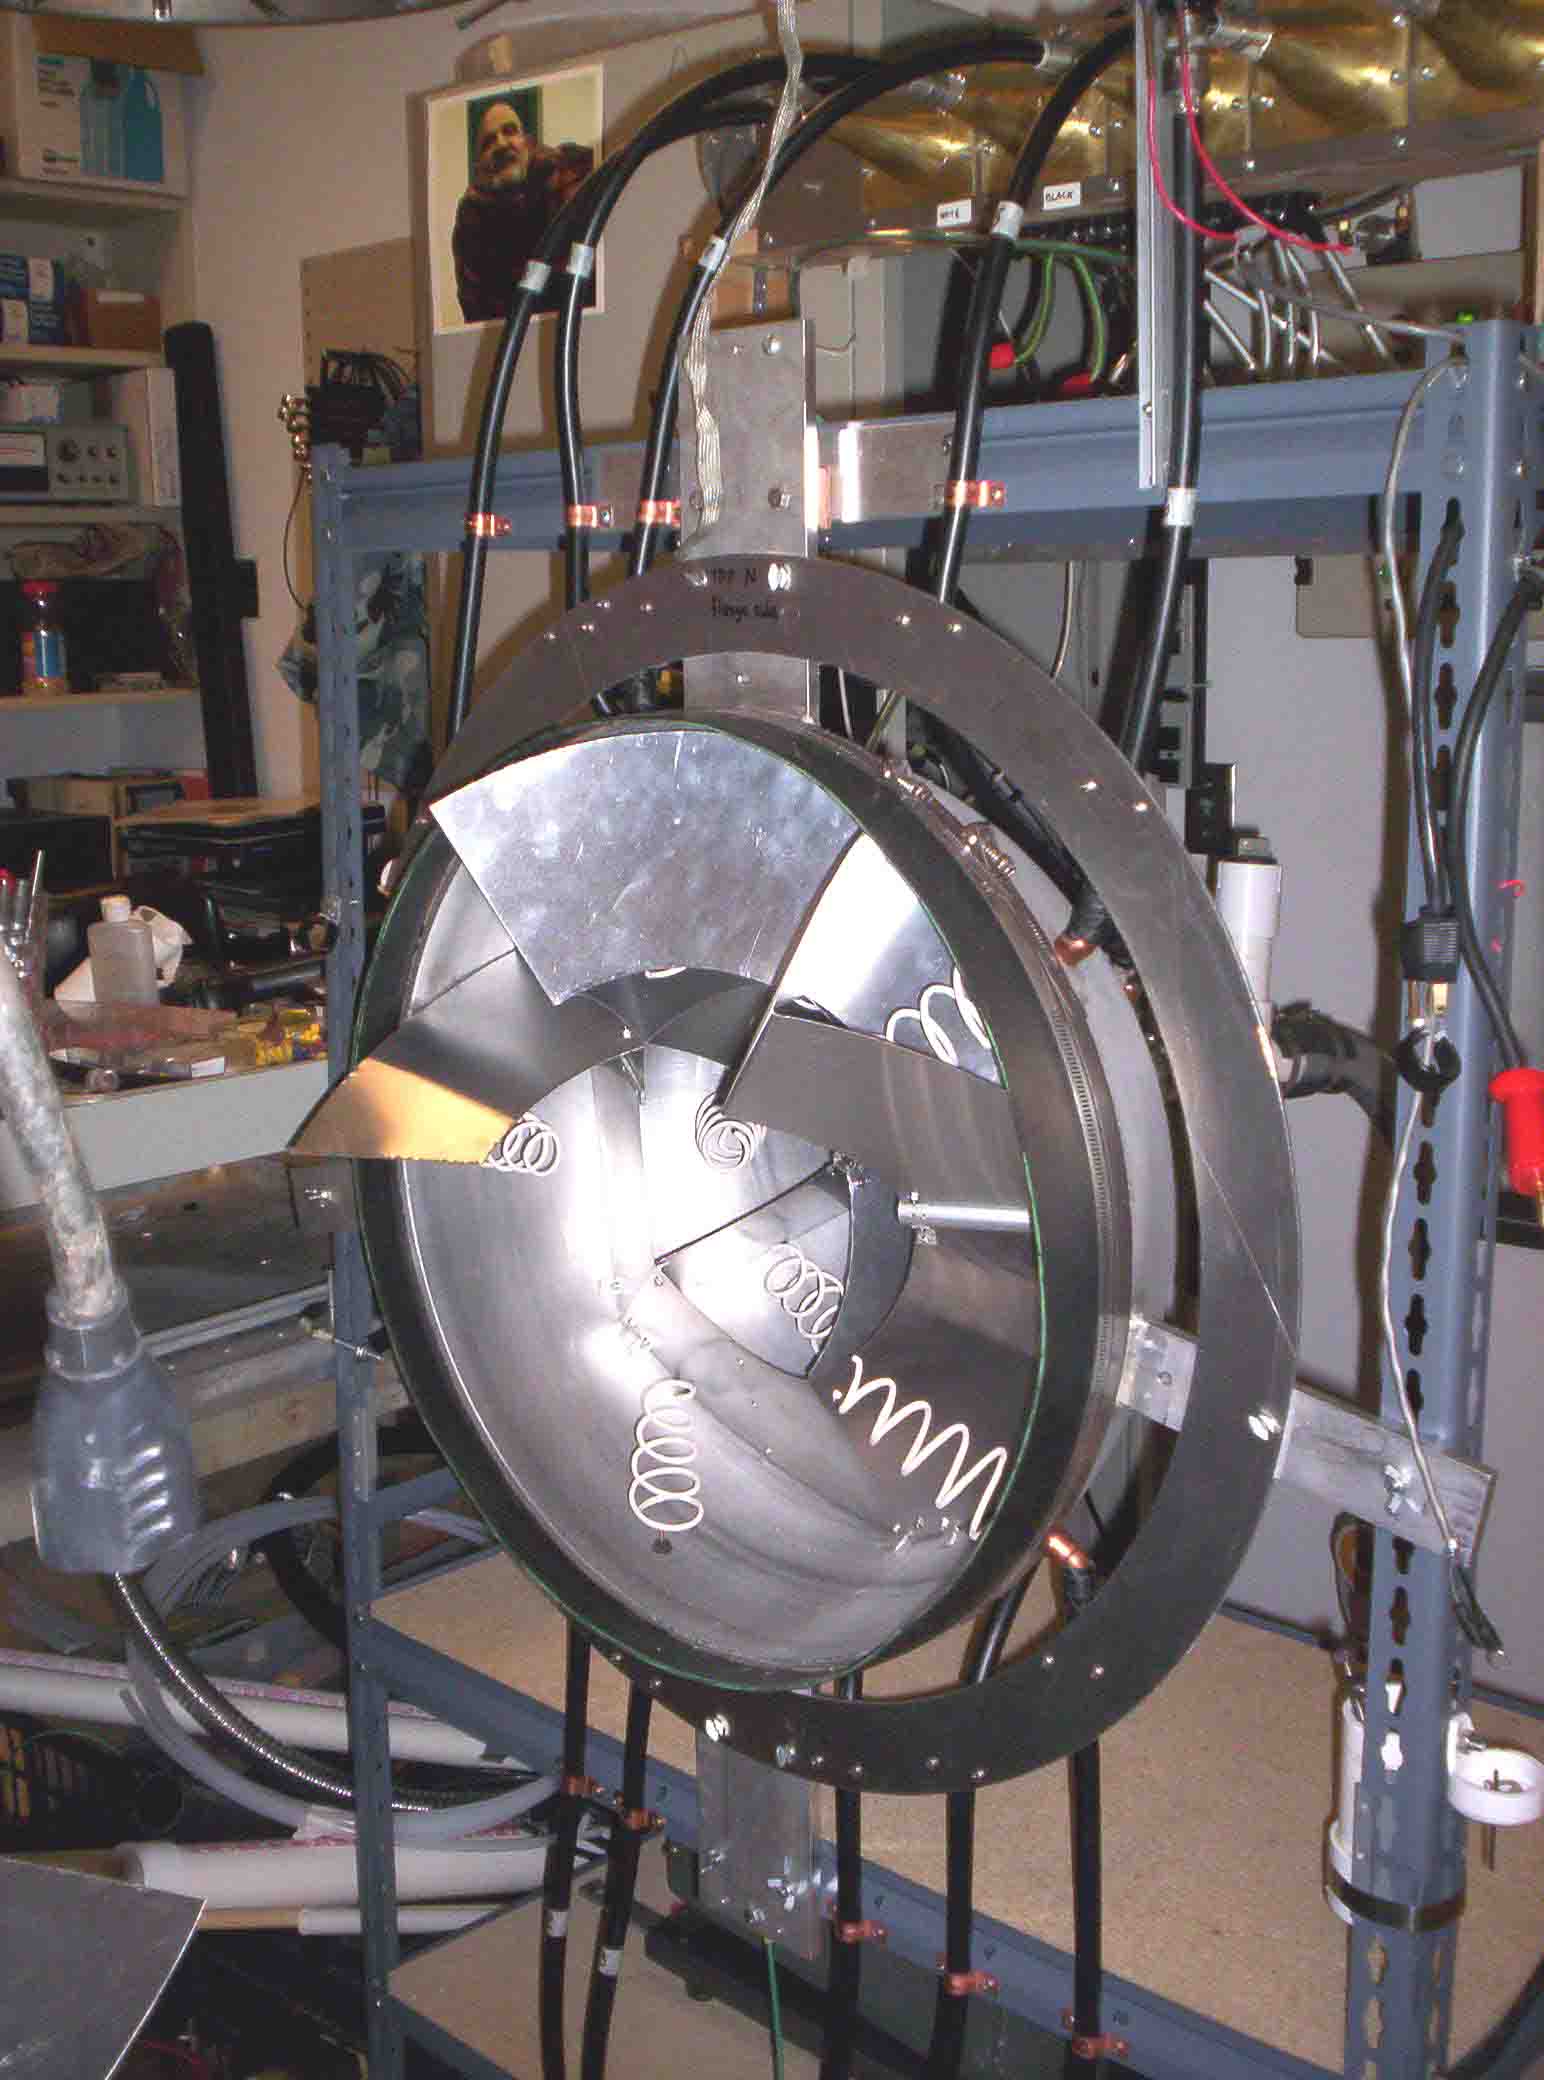
N hemisphere
with all baffles and antennas
|
|
 |
|
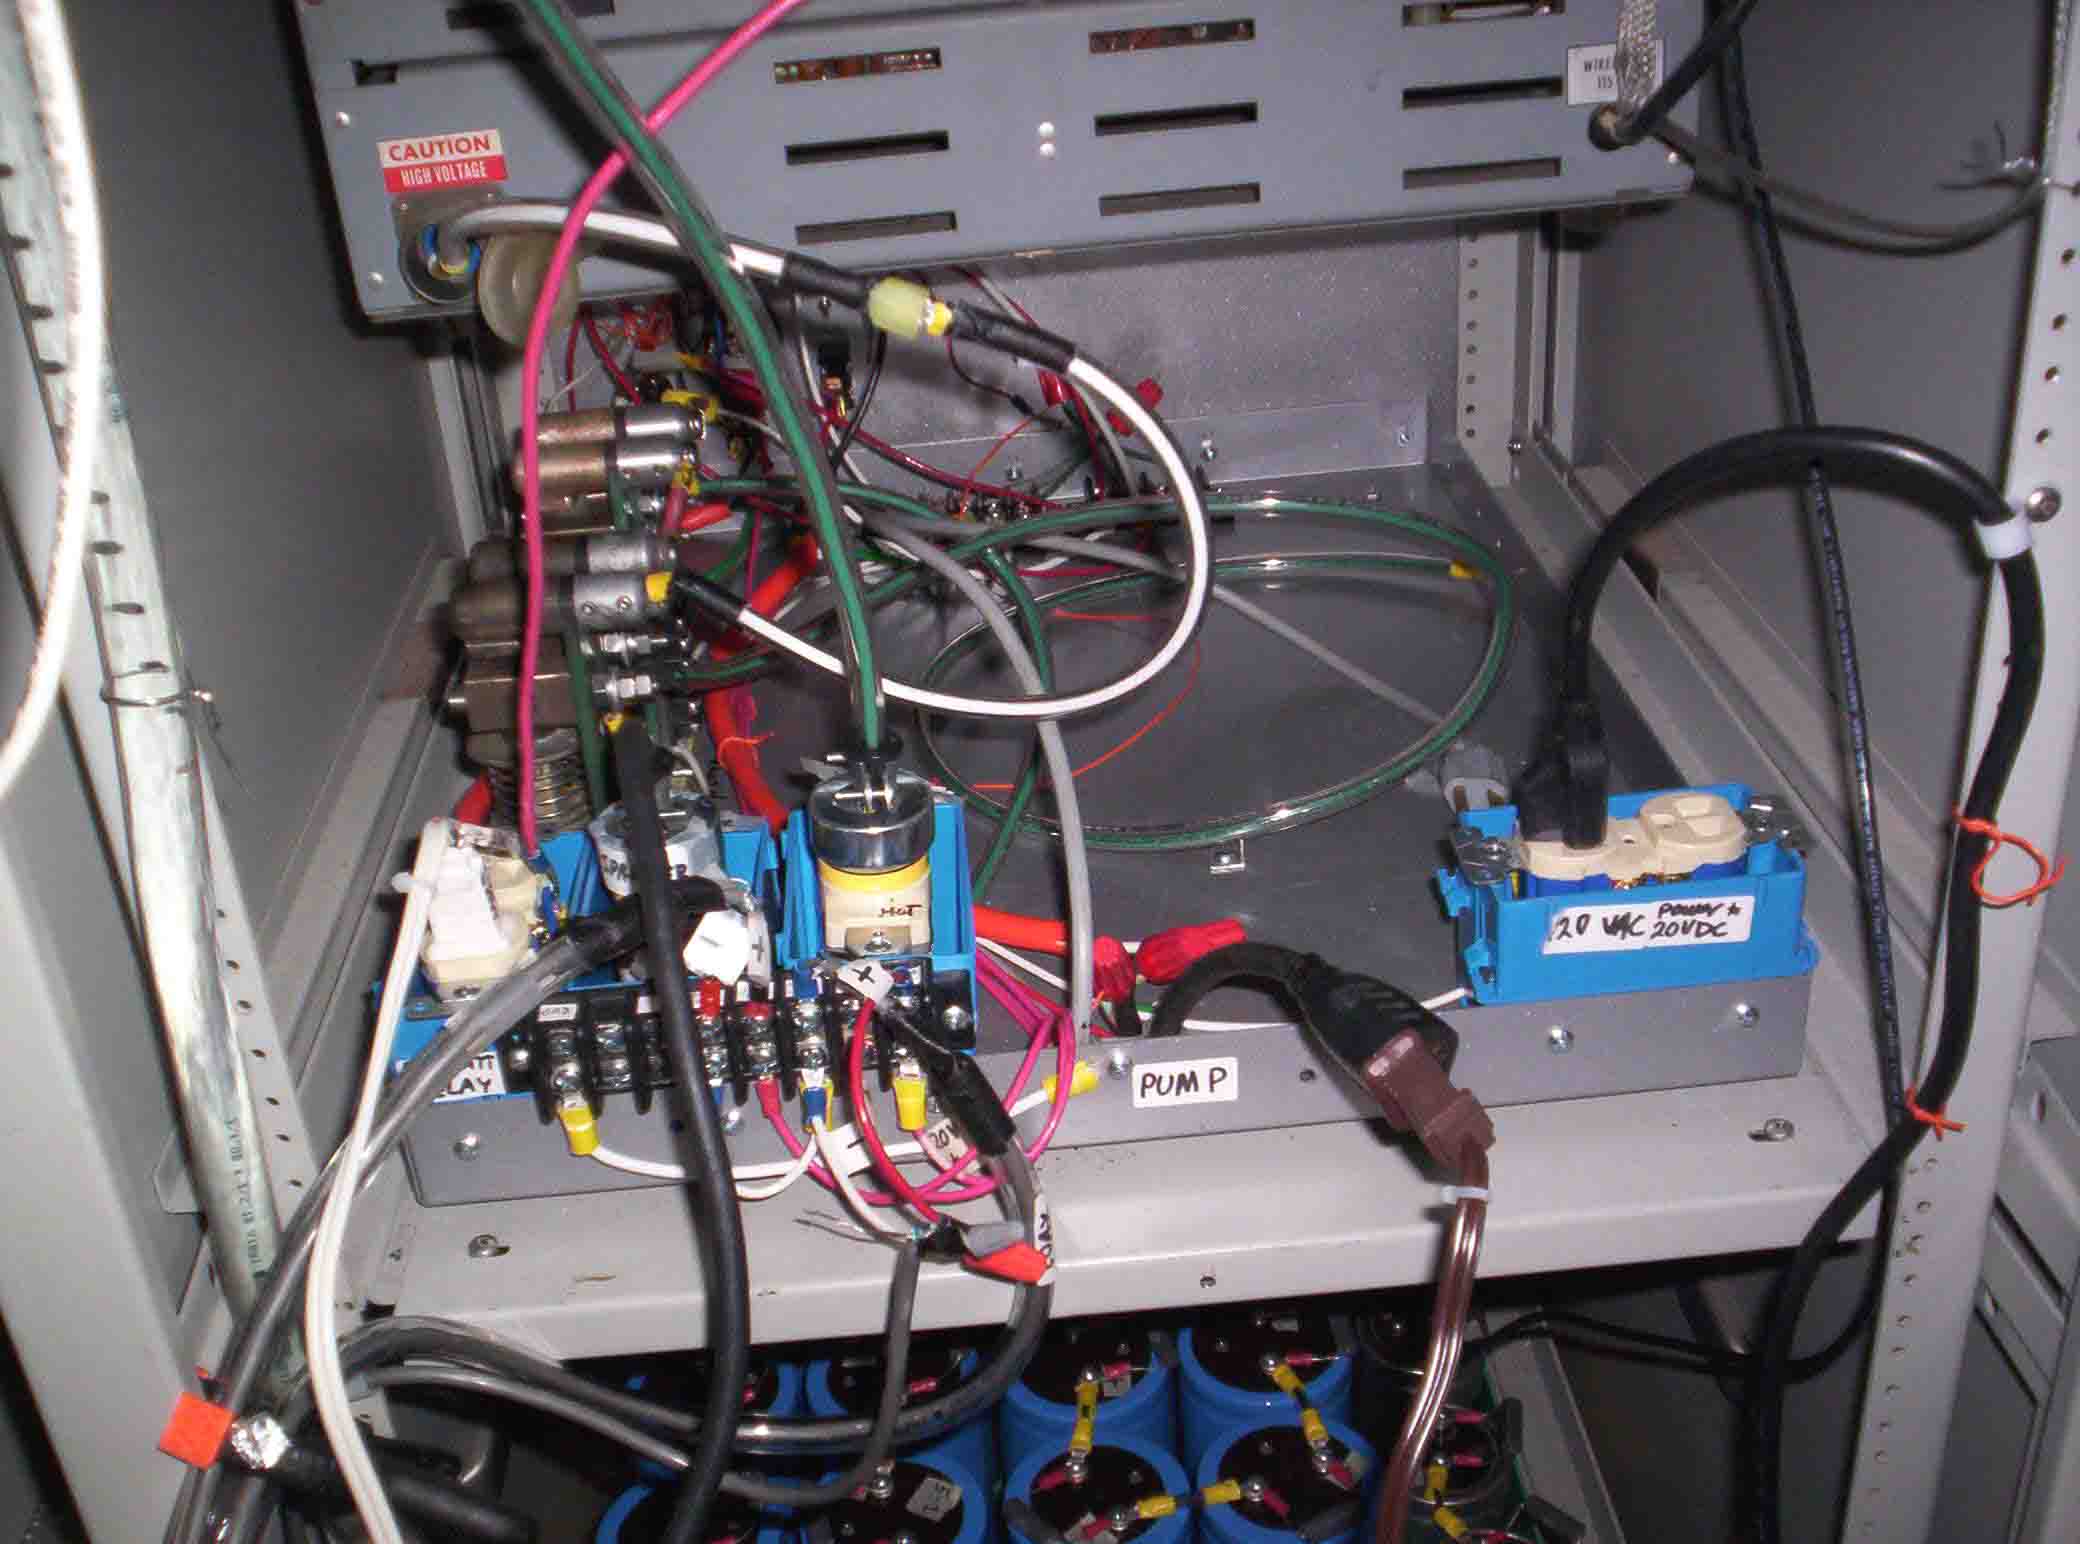
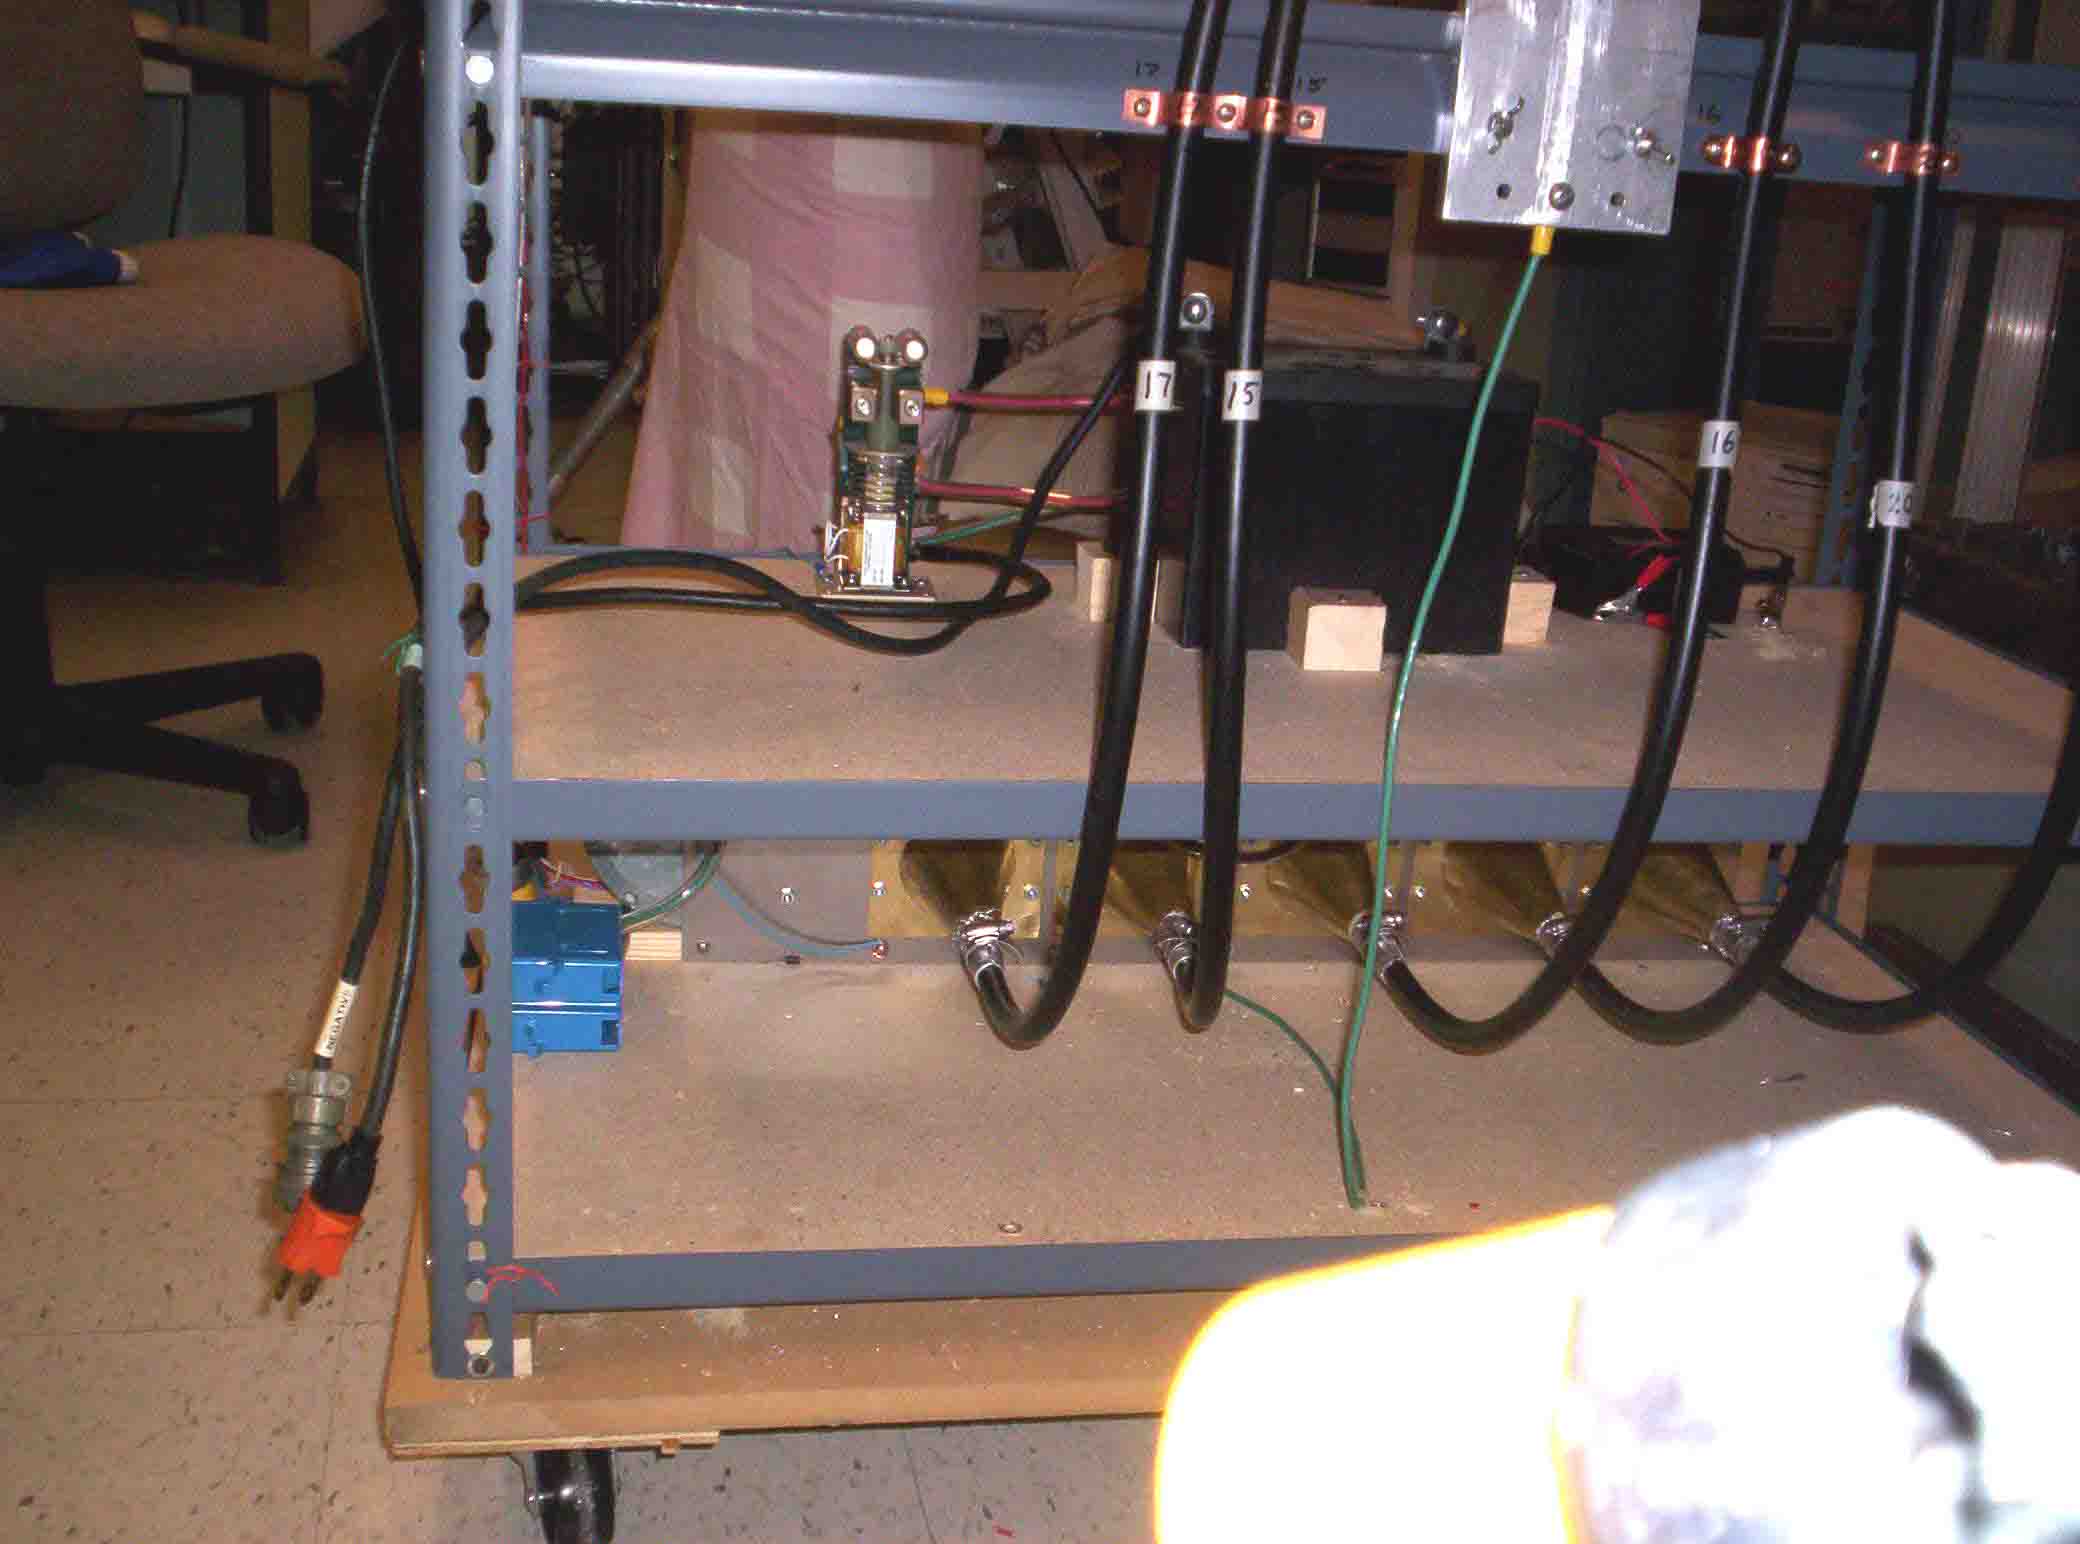
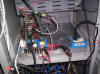
S Half low
Shows big 12 V battery now used for the 3 VDC glow current, with relay that adds 4000-5000 V pulse
|
|
|
|
 |
|
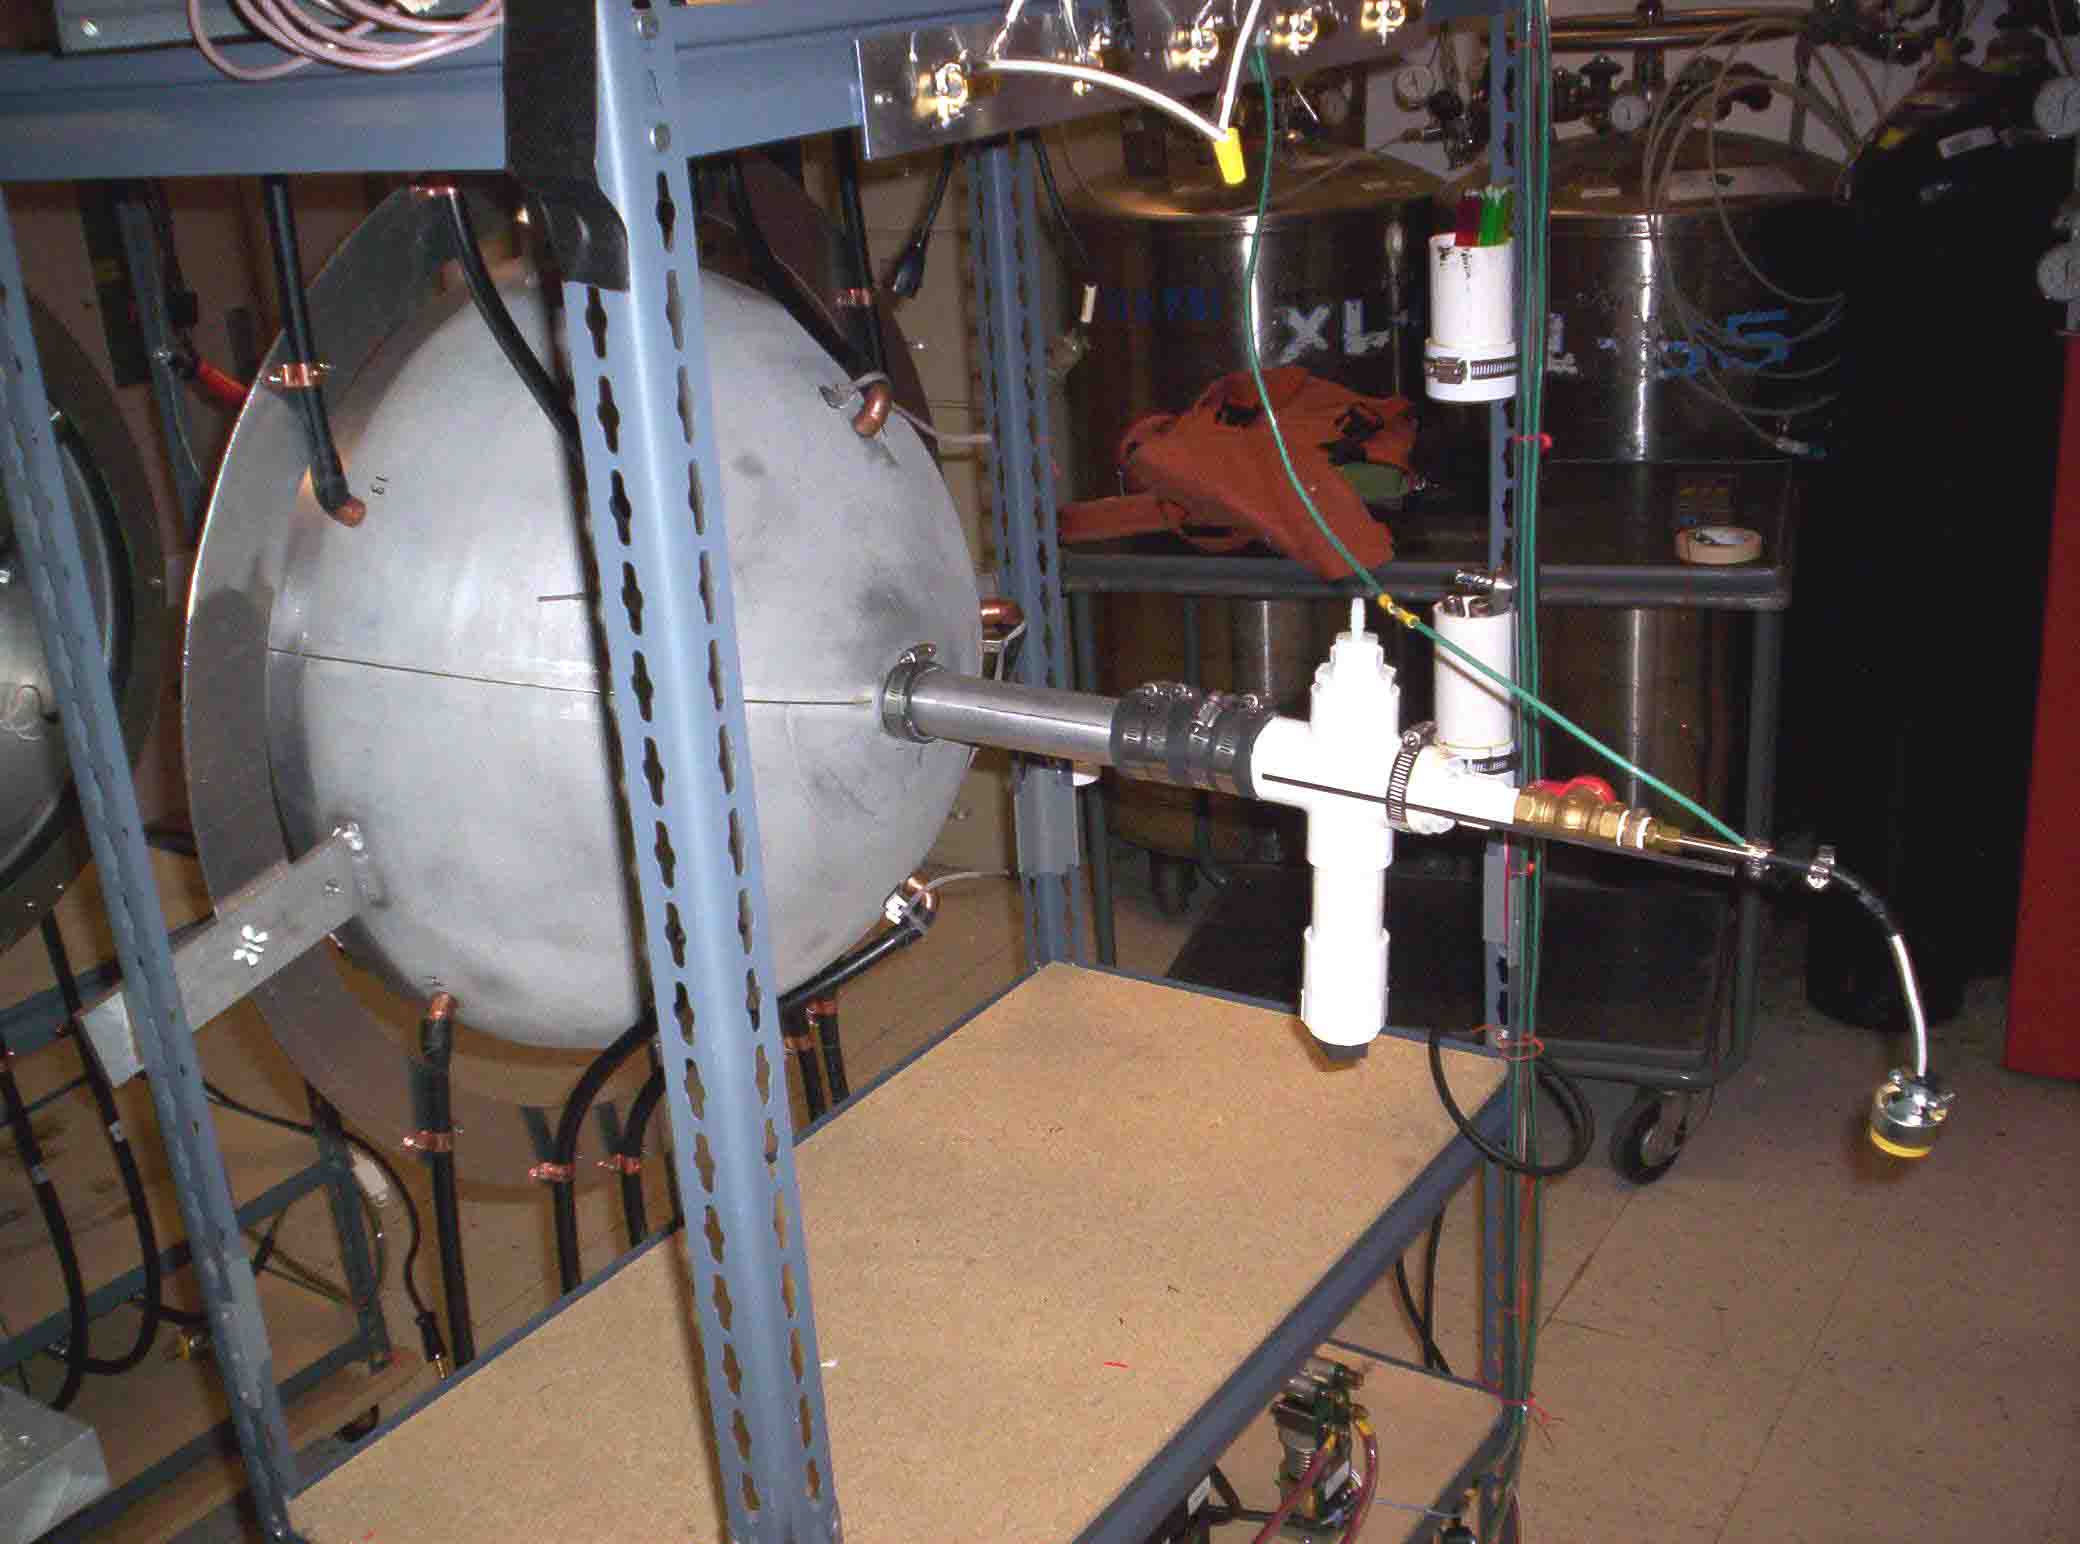
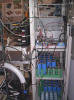
S High from back
Shows input of sparker, valves, wiring
|
|
 |
|
S Half low, Battery
Details of big battery setup and magnetrons
|
|
 |
|
S Hemi back
Another view of the sparker input
|
|
 |
|
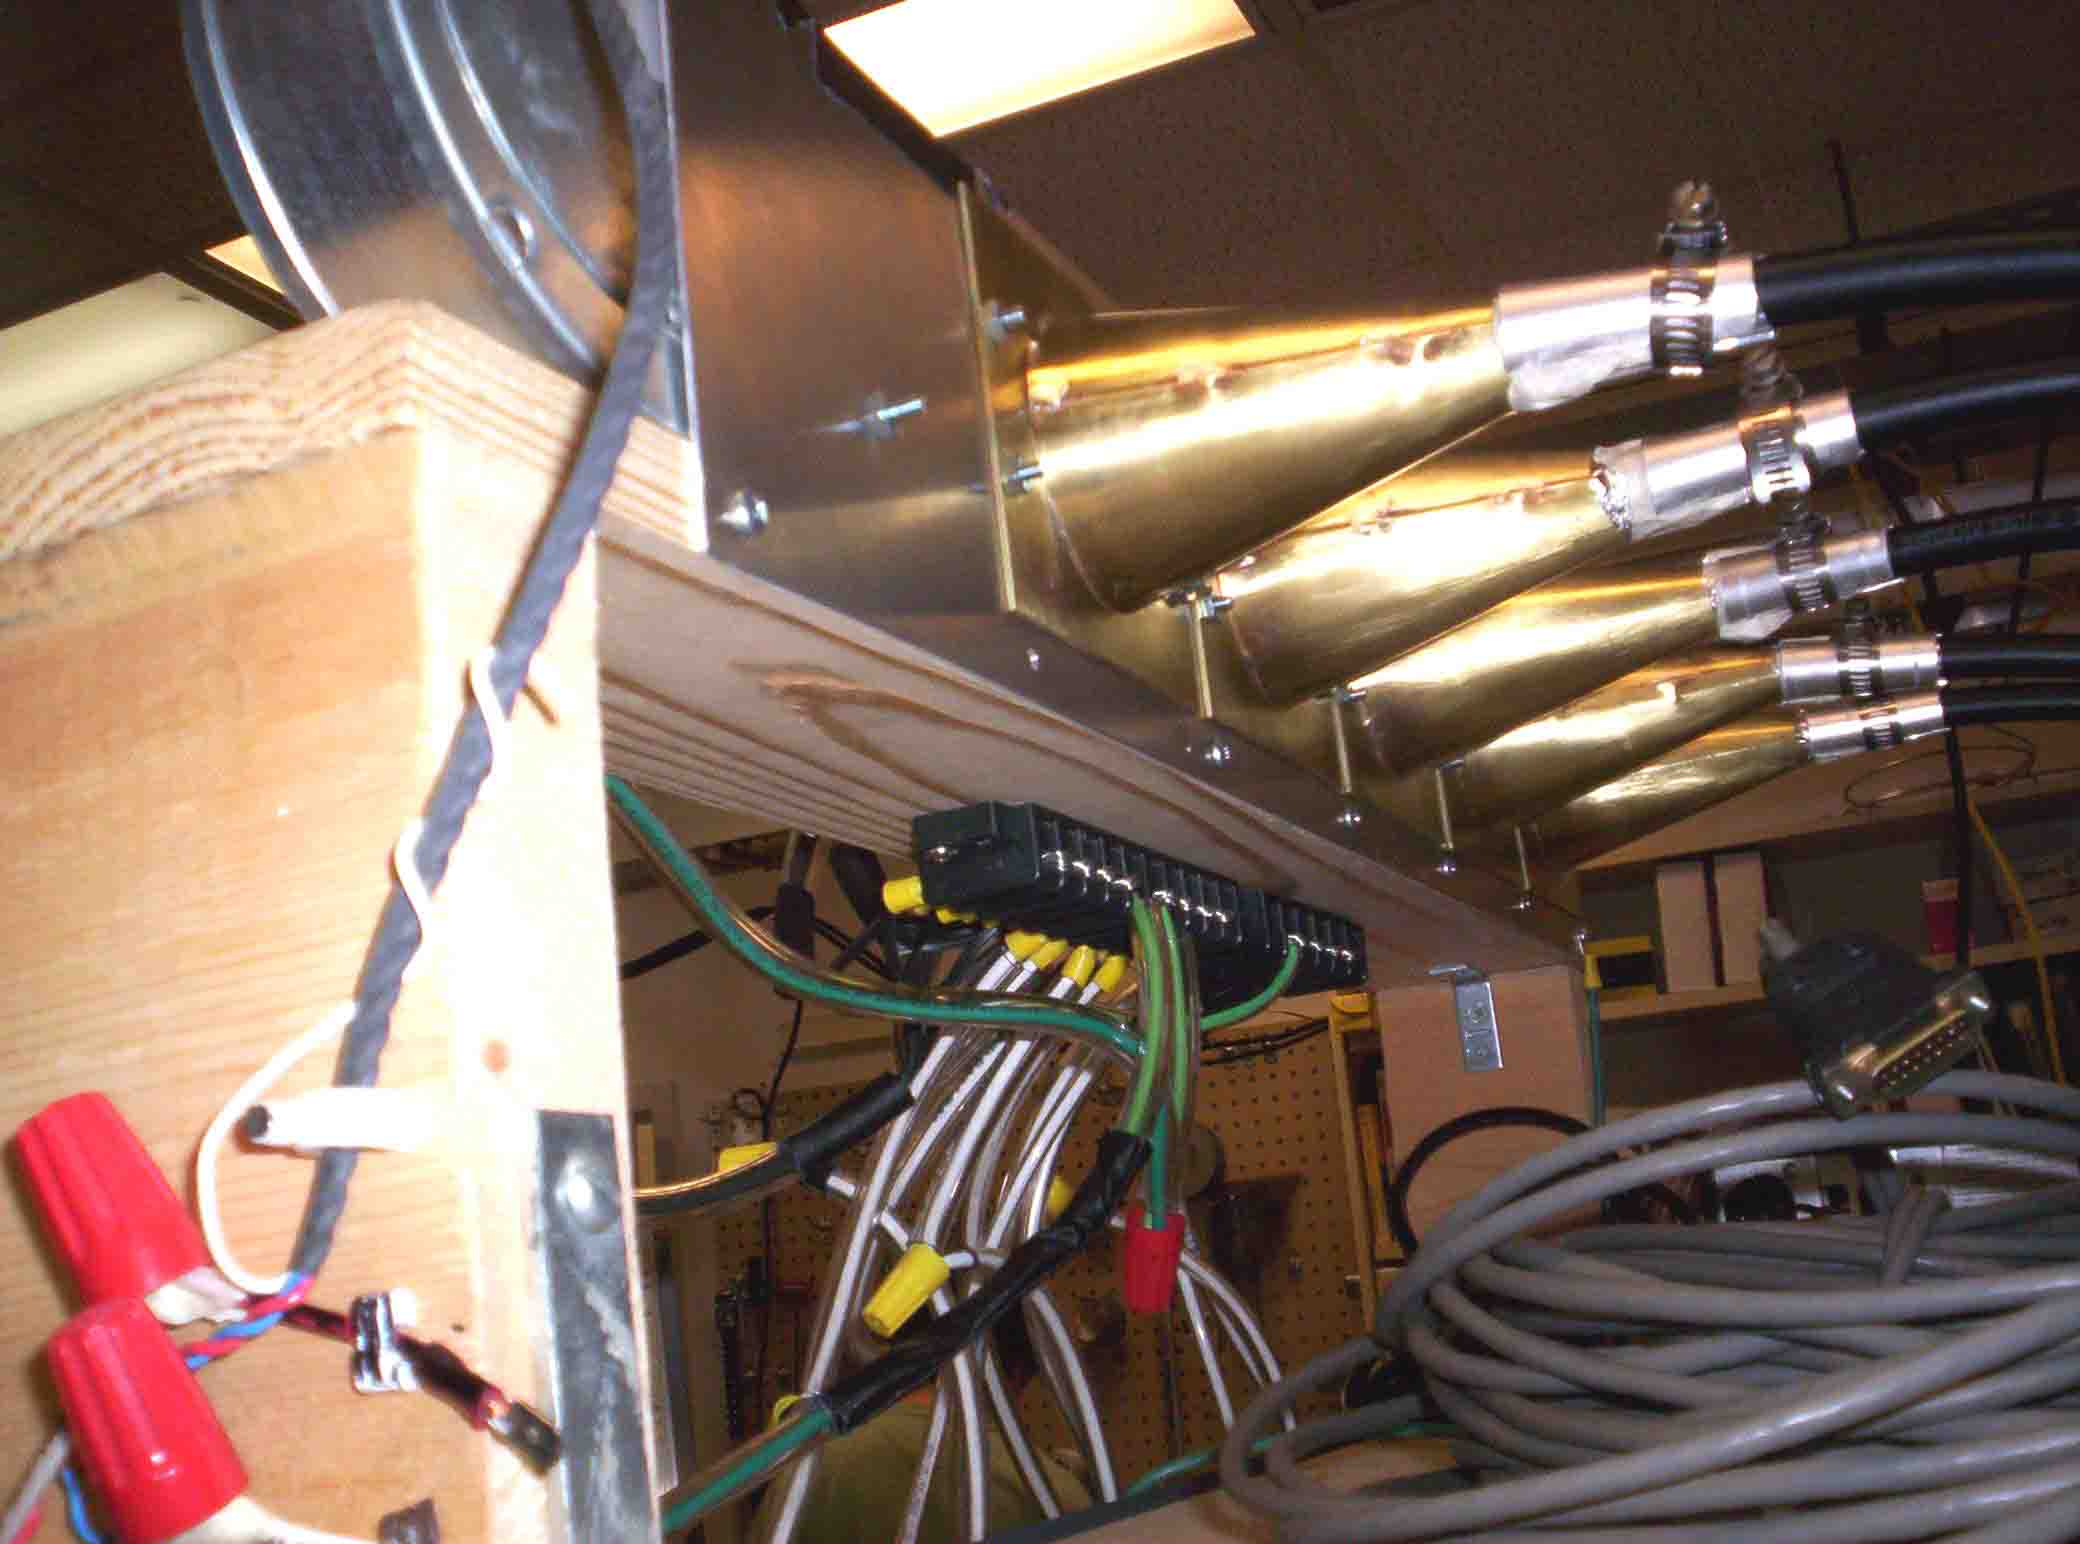
S Half top cones
Finished array of magnetrons attached to coax
|
|
 |
|
S Half top back
close-up of the back view
|
|
|
 Lab Pictures 3